Shop Categories
-
Accessories (25)
-
Night Vision (2)
-
Spotting Scopes (New) (15)
-
Binoculars (New) (32)
-
Vintage Binoculars (121)
-
Telescopes (New) (6)
-

Vintage Telescopes (40)
-
Monocular (19)
-
Microscopes (11)
-
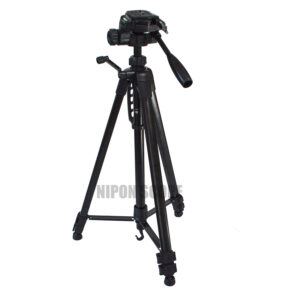
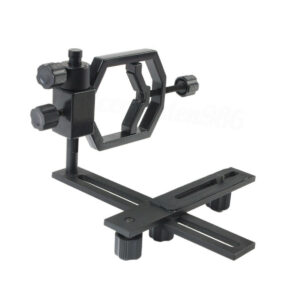
Tripods & Mounts (11)
-
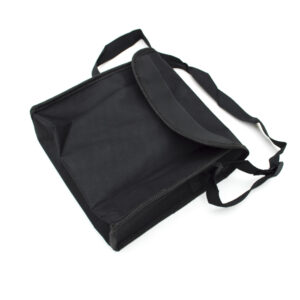
Carry Case (16)
-
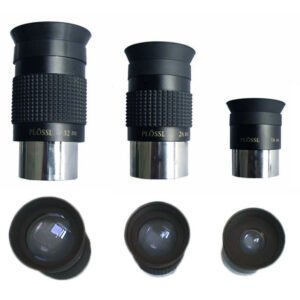
Telescope Eyepieces (12)
-
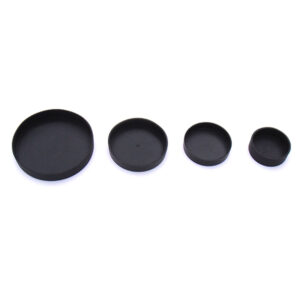
Lens Caps (12)
-
DSLR Camera Adapters (44)
-
Universal Camera Adapters (10)
-
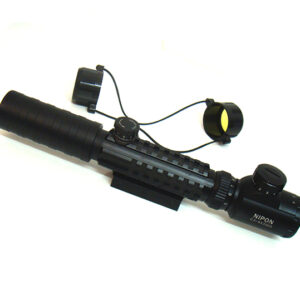
Rifle Scopes (24)
-
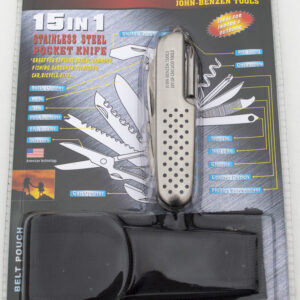
Pocket Tools (17)
-

Antiques & Collectables (31)
-

Optics Deals (61)
Shop All
Showing 1–16 of 451 resultsSorted by price: low to high
-
Night Vision (2)
-
Accessories (25)
-
Spotting Scopes (New) (15)
-
Binoculars (New) (32)
-
Vintage Binoculars (121)
-
Telescopes (New) (6)
-
Vintage Telescopes (40)
-
Monocular (19)
-
Microscopes (11)
-
Tripods & Mounts (11)
-
Carry Case (16)
-
Telescope Eyepieces (12)
-
Lens Caps (12)
-
DSLR Camera Adapters (44)
-
Universal Camera Adapters (10)
-
Rifle Scopes (24)
-
Pocket Tools (17)
-
Antiques & Collectables (31)
-
Optics Deals (61)
-
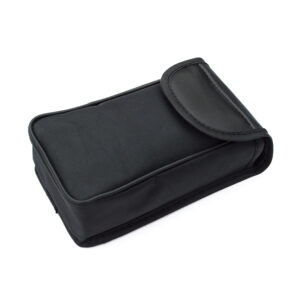
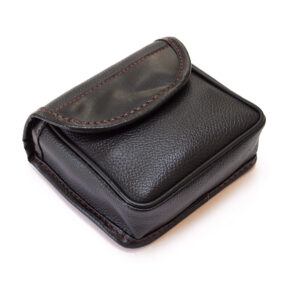
Small soft carry bag / carry case for compact binoculars. 65mm(W)x80mm(H)x30mm(D)
£1.50 -
25mm x 6mm lens cap / lens cover for telescopes, binoculars, monocular, eyepieces, Barlow lenses and accessories
£1.79 -
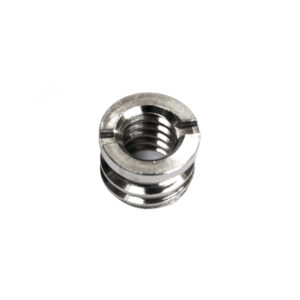
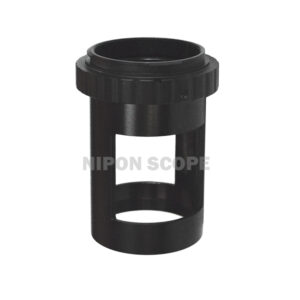
1/4″ to 3/8″ screw adapter for cameras and telescopes.
£1.99 -
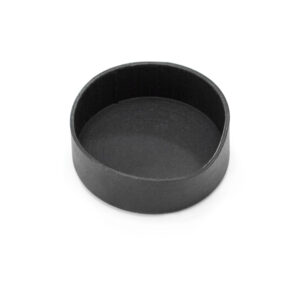
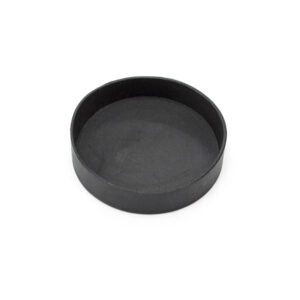
36mm x 11mm lens cap / lens cover for telescopes, binoculars, monocular, eyepieces, Barlow lenses and accessories
£2.35 -
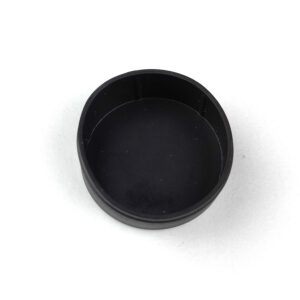
40mm x 11mm lens cap / lens cover for telescopes, binoculars, monocular, eyepieces, Barlow lenses and accessories
£2.39 -
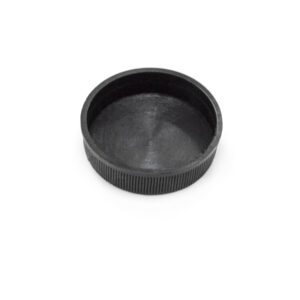
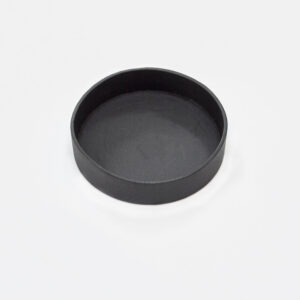
38mm x 8mm Lens Cap / Lens Cover
£2.39 -
42mm x 8mm lens cap / lens cover for telescopes, binoculars, monocular, eyepieces, Barlow lenses and accessories
£2.50 -
62mm x 10mm lens cap / lens cover for telescopes, spotting scopes and binoculars
£2.99 -

Rubber Eyecups for Binoculars or Monocular. 30mm Fitting Diameter
£2.99 -
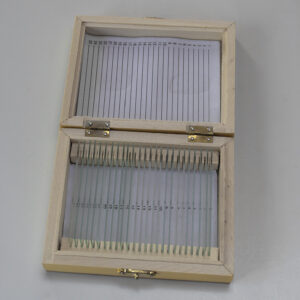
Wooden microscope slide box with 25 blank thin glass slides
£3.50 -
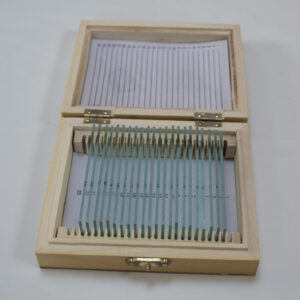
Wooden microscope slide box with 22 blank thick glass slides
£3.50 -
71mm x 14mm lens cap / lens cover for telescopes, binoculars, monocular, eyepieces, Barlow lenses and accessories
£3.60 -
77mm x 22mm lens cap / lens cover for telescopes, spotting scopes and large binoculars
£3.80 -
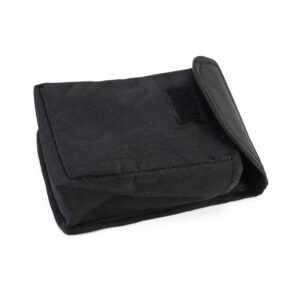
Small soft carry bag / carry case for compact binoculars. 80mm(W)x100mm(H)x55mm(D)
£3.99 -
Small soft carry bag / carry case for binoculars. 75mm(W)x140mm(H)x45mm(D). Fit 10×25, 10×32 or 12×32 roof prism binoculars
£3.99 -
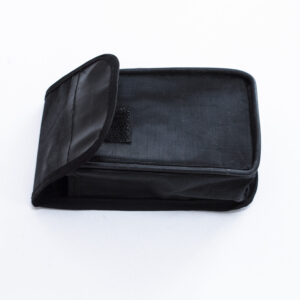
Soft carry bag / carry case for binoculars. 95mm(W)x80mm(H)x30mm(D)
£4.50